How Long Does It Take To Make Vermicompost: The Ultimate Guide to Creating a Successful Vermicomposting System
Making vermicompost is a great way to reduce your household’s waste and create a nutrient-rich fertilizer for your garden and houseplants. It’s easy to do and a great way to recycle your kitchen scraps.
In this guide, you’ll learn how to set up your own vermicomposting system and start making compost with the help of worms. By the end of this guide, you’ll have all the information you need to get started on your vermicomposting journey. Let’s get started!

Understand the Basics of Vermicomposting.
Before you begin your vermicomposting system, it’s important to understand the basics. Vermicomposting is a method of composting that utilizes worms to break down organic material into nutrient-rich compost. The worms are the key component for breaking down and processing the organic matter, so it’s important to choose the right type of worm for your vermicomposting system. Red worms are generally best as they can process larger amounts of food scraps more quickly than other types. It’s also important to provide them with enough food and create an environment where they can thrive. A combination of bedding materials, such as shredded paper or cardboard, combined with kitchen scraps and organic material is the ideal solution for vermicomposting success!
Choose an Appropriate Container and Lid.
An important part of vermicomposting is choosing the right container and lid. The container should be wide enough to provide plenty of surface area for the worms as they move around while still being narrow enough to create a dark environment. A common size for a vermicomposting container is about 2 meters by 1 meter by 0.75 meters, which can house about 150 earthworms. The lid should fit tightly on the bin but also have adequate ventilation and moisture control. A mesh or screen can be used to provide ventilation, while perforated holes in the lid will help ensure proper moisture levels. And finally, the material should be food grade for optimal safety.
Decide What Type of Worms to Use.
Choosing the right type of worms is an essential step to successfully create a vermicomposting system. There are several different types of composting worms available, and each has its own benefits for producing high-quality compost. Red wiggler worms are one of the most popular types for vermicomposting because they are efficient eaters and can tolerate a wide range of temperatures, but other species like nightcrawlers can also be used. Doing some research into which type of worms would be most suitable for your system will help ensure you achieve maximum success.
Acquire the Necessary Materials.
Once you’ve selected the type of worms for your vermicomposting system, it’s time to acquire the necessary materials. You’ll need an appropriate container like a plastic bin with a lid and holes drilled into it for airflow, bedding material like shredded newspaper or straw, a thermometer to track temperature levels, and water. A bucket with a lid will also be needed if you choose to store excess liquid or ‘worm tea’. Setting up your vermicomposting system can be both cost-effective and rewarding when done right – so make sure to get the right supplies so you can start producing rich compost!
Monitor Environmental Conditions in the System.
Once you’ve set up your vermicomposting system, it’s important to keep a close eye on the environmental conditions within the container. You need to make sure that that the temperatures remain between 18-30 degrees Celsius for optimal performance of your worms and that there is an adequate level of moisture inside the container. Monitor these factors with a thermometer and by regularly adding water to the system. If you want your vermicomposting system to be successful, then monitoring temperature, moisture and airflow are key!
How Long Does It Take To Make Vermicompost?
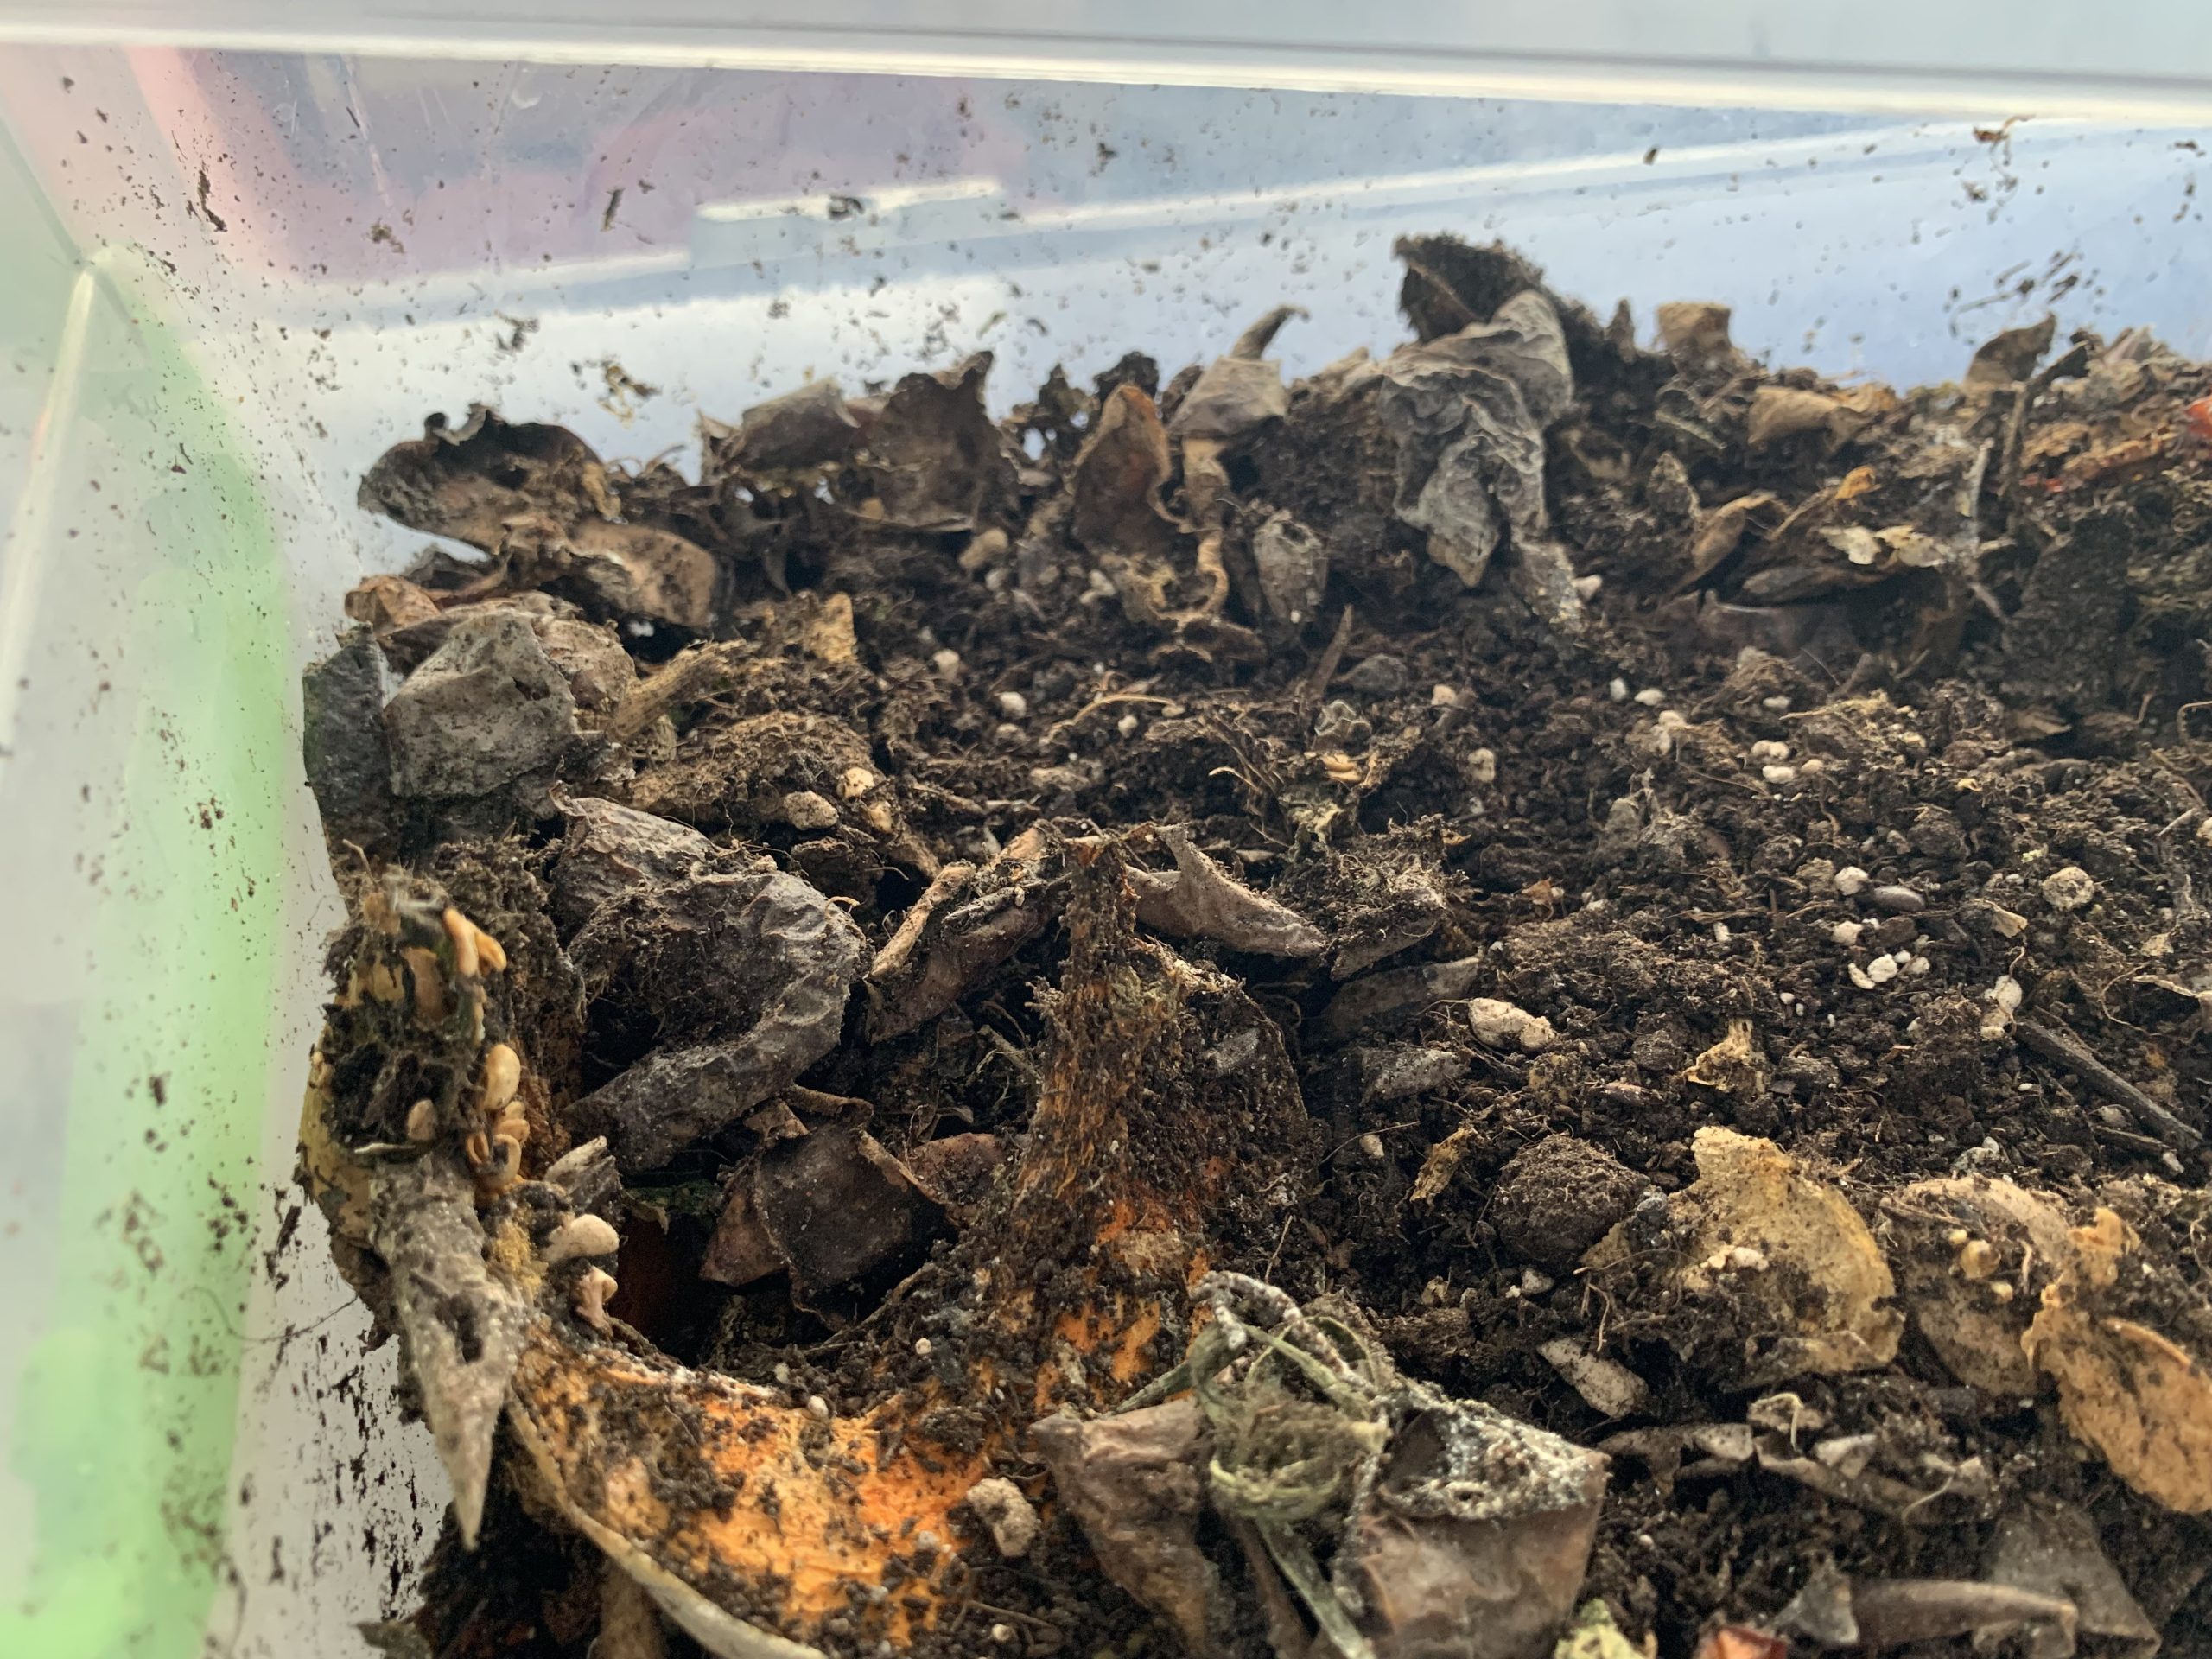
The compost will take 60 to 90 days to be ready and will look dark brown, loose, crumbly, black, granular, lightweight, and rich in humus. When you see earthworm castings (vermicompost) on top of the bed, it means you can harvest the compost. Before harvesting, stop watering for 2 to 3 days to separate the worms from the compost (most of the worms will move to the bottom of the bed). Then put the harvested compost in the sun so the worms move to the cool base. In a two or four pit system, stop watering in one chamber so the worms move to another chamber where the environment is suitable for them. This way, you can harvest the compost continuously.
